I-389 Life's Journey
$10.95
Elderly couple hand in hand after many wonderful years together.
A Wonder Wheel was used for adding texture. Woods Used: Various shades of Western Red Cedar, Aspen, Red Heart, Blue Pine, Walnut & Basswood.
Blades Used: Gold #5 for Western Red Cedar or any softwood. Platinum Plus #5, Titanium #5, Titanium #5R, Platinum #5, TLB #5 for the hardwoods. PLP #2/0, or TLB #2/0 to cut the interior lines (after the exterior lines are cut).
I used the following 3/4” thick wood for this project;
- Western Red Cedar for the sweater, pants, and skirt, I found some quarter sawn WRC which has very straight grain.
- Two shades of Blue Pine for the hair and sidewalk.
- Aspen for the cuffs, collar, and jacket.
- Basswood for the hands, ears, and head.
- Red Heart for the purse, belt and woman’s shoes. Walnut for the man’s shoes & the soles of the woman’s shoes
Sanding Tips;
The concept “sanding shim” is a term I use to describe a method for sanding many pieces of wood together. I cut a piece of flat plywood or masonite roughly the shape of the parts that I want to sand together. I use Light Traffic Double-Sided Carpet tape to hold the parts to the masonite (or plywood). This is temporary, after the parts are sanded they are removed from the “sanding shim”. Click this link for more information about sanding shims.
After shaping the hair, the cuffs and the bottom of the man’s sweater I added texture with the Wonder Wheel, these areas marked with dashed lines. The wheel carves grooves and burnishes at the same time. You will have to "dress" the wheel to a "V" point in order to make a sharper texture. I use a diamond wheel dresser (or you could use a rough grit sand-paper stapled to a flat piece of wood) to sand/dress it to a point. You will have to resharpen it from time to time to keep the grooves sharp. I added dashed lines on the pattern to help with adding extra detail to the project.
On the wrinkles and folds in the fabric I used the Wonder Wheel to carve a line then used the edge of a Flex Drum Sander to soften the carved line.
Intarsia pattern designed by Judy Roberts. See why our patterns are the best!
 |
 |
 |
 |
Related Items
CT-01 American Indian
$22.45
Advanced Level 16 3/4" x 10" 88 pieces. CT "Classroom in a Tube" comes with 7 pages of detailed...
CT-03 Cowboy
$22.45
Advanced Level 18½" x 14" 61 pieces. CT "Classroom in a Tube" comes with 12 pages of detailed instructions (see...
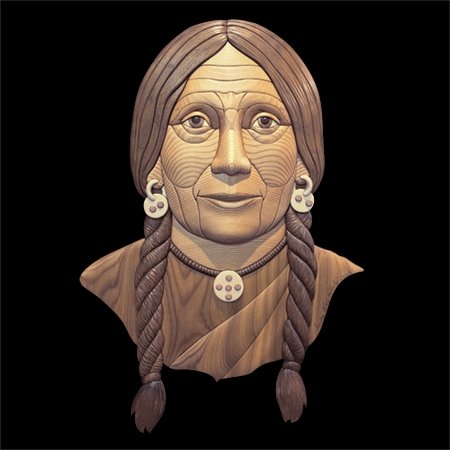
CT-04 Native American Woman
$22.45
Advanced Level 16½" x 9½" 82 pieces. CT "Classroom in a Tube" comes with 12 pages of detailed instructions...
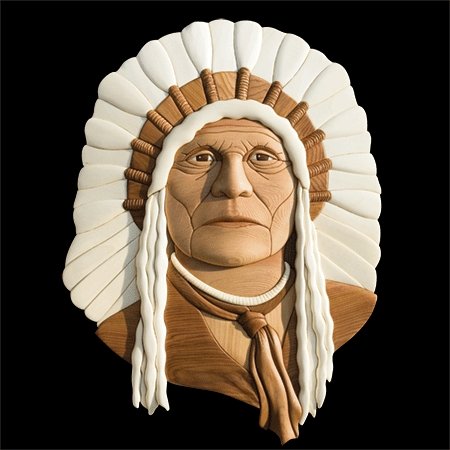
CT-05 Native American Chief
$22.45
Advanced Level 19" x 19½" 109 pieces. CT "Classroom in a Tube" comes with 16 pages of detailed...


